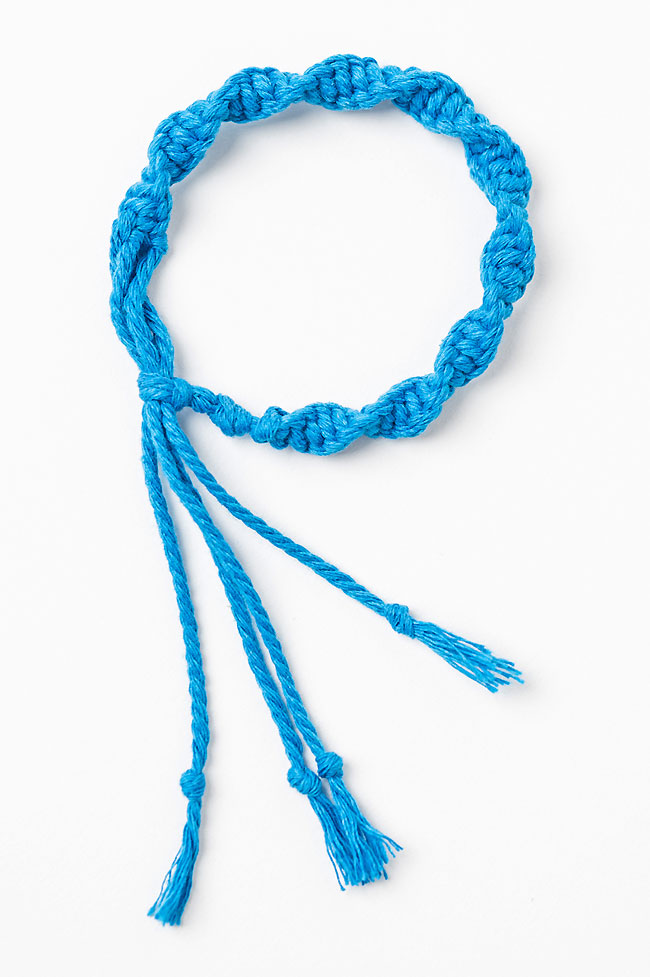
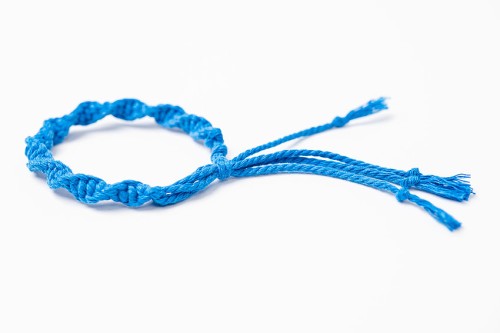
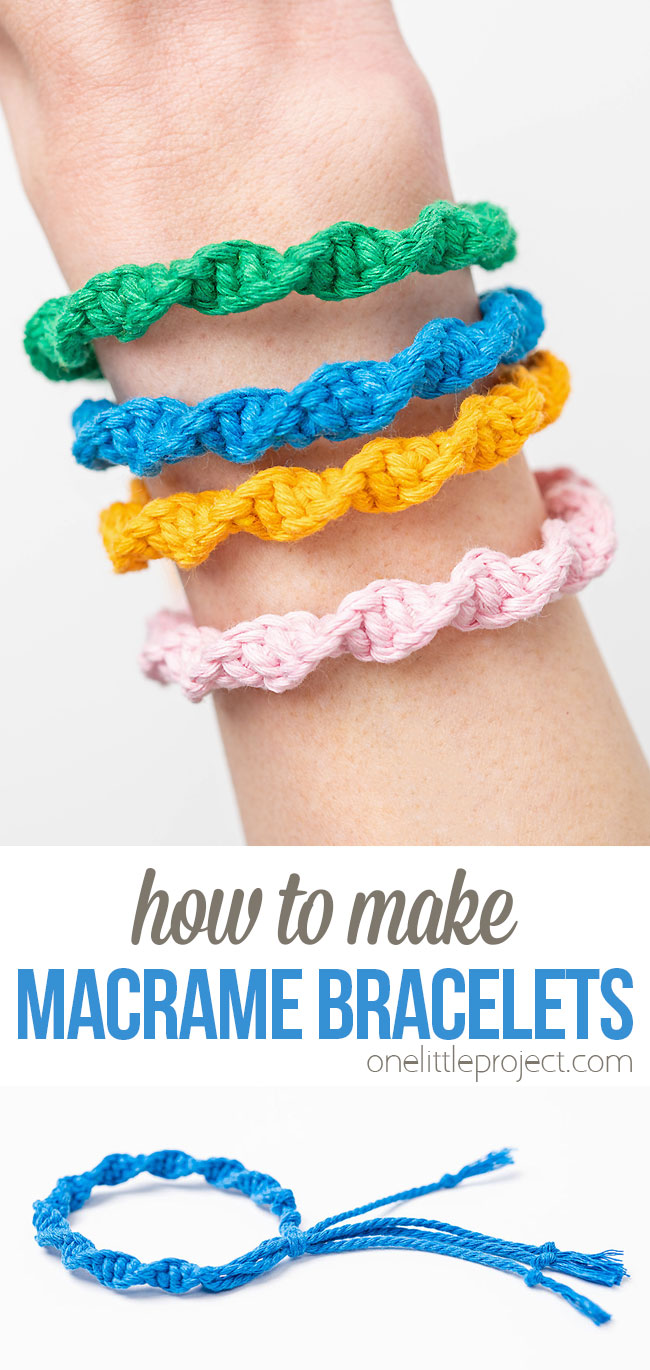
This macrame bracelet is SO CUTE, really easy to make, and it’s also adjustable! The spiral knot creates a beautiful helix pattern that can easily tighten or loosen to fit your wrist. (Making it easy to put on and take off!)
Learn how to make macrame bracelets with our video and photo tutorials below! With one simple knot, this bracelet is a perfect project for macrame beginners. It’s a super fun way to make your own jewelry, friendship bracelets, and gifts!
This post contains affiliate links. If you use these links to buy something we may earn a small commission which helps us run this website.
This macrame bracelet is SO CUTE and really easy to make! It's the perfect project for macrame beginners.
Author: Debbie Chapman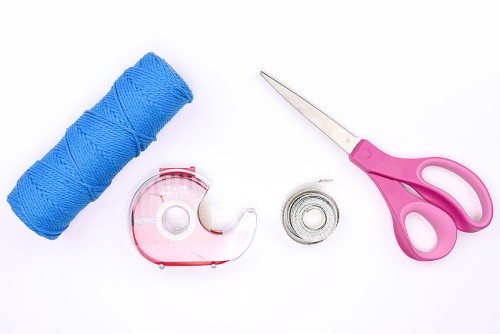
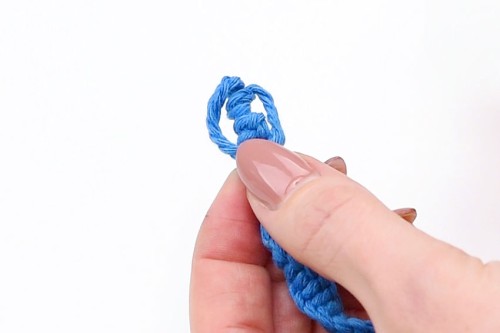
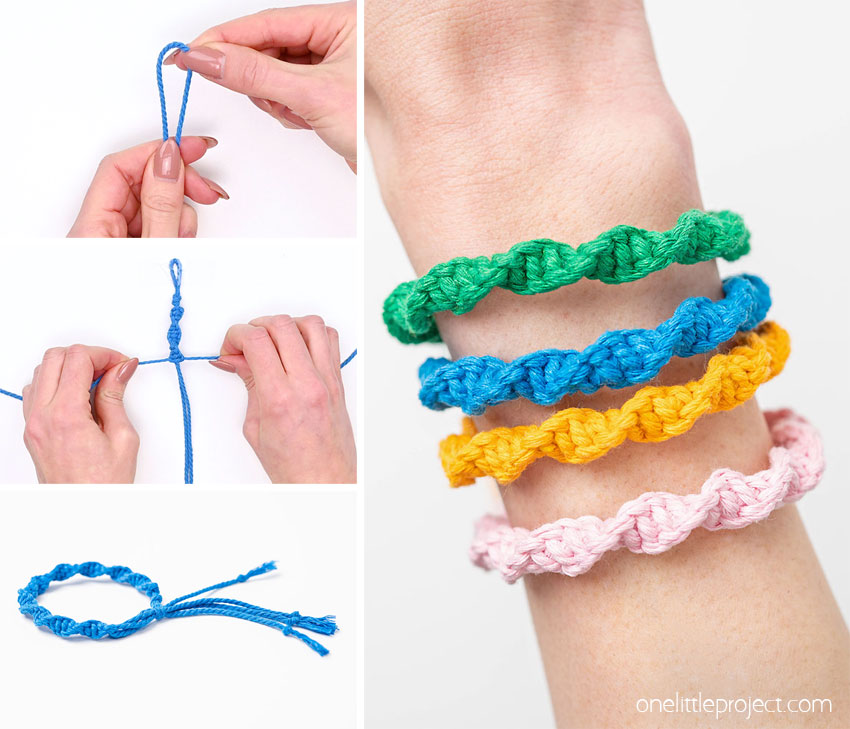
Fold the 32 inch cord in half and hold the loop at the top. Then wrap the loop around your finger and tie a regular knot, leaving a 1 inch loop above the knot.
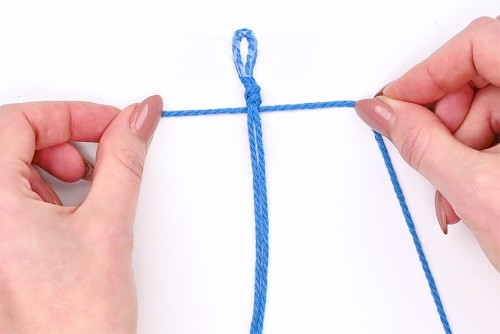
Tape the loop to your table or working surface. All the knots will be tied around these two cords.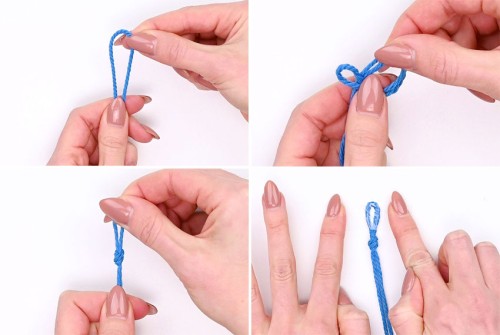
Find the center of the 80 inch cord and place it under the cords taped to the table, close to the knot.
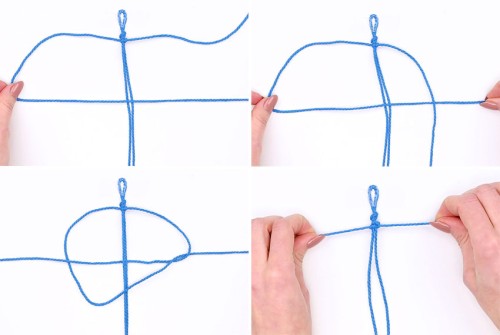
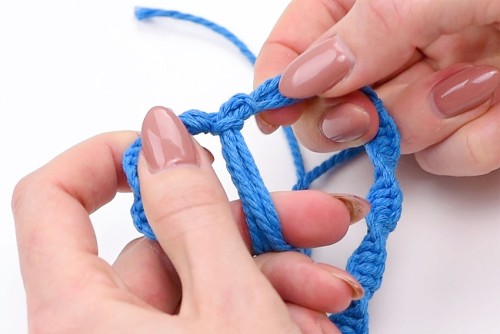
Bring the left side of the cord over top of the other three cords, making sure to leave a large loop on the left side.
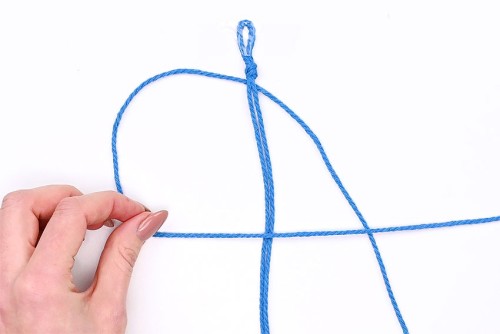
Bring the right cord (the one pointing downwards) to the left, underneath the other three cords, and pull it up through the loop.
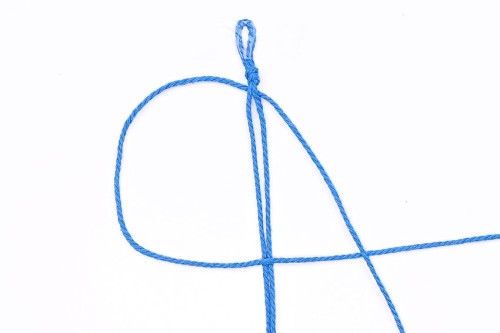
Pull on the left and right cords to create a tight knot. Push this knot up towards the knot of the cords that are taped to the table.
You have just tied a half knot spiral.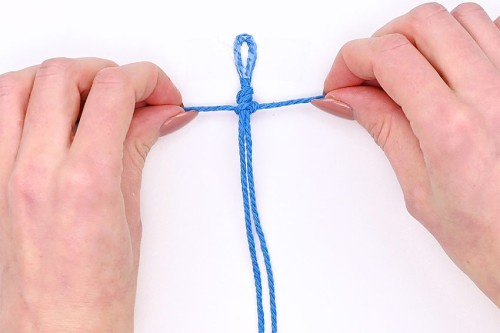
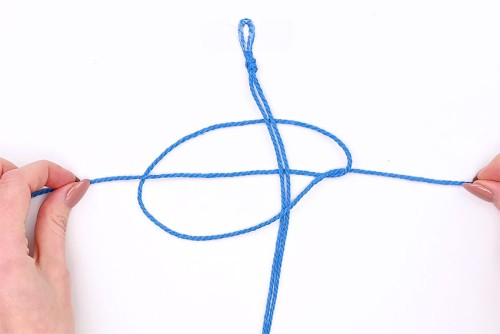
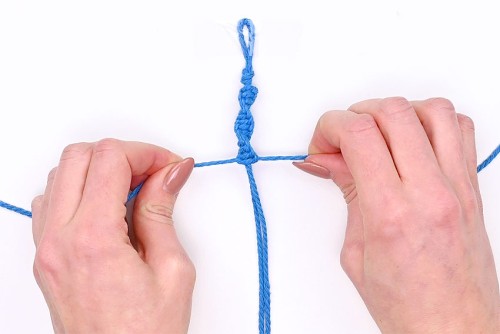
Repeat the exact same knot. Bring the left cord over the center two cords and then bring the right cord down over top of it. (Make sure the right cord is always on top of the left cord). After that, put the right cord under the center two cords, and up through the loop. Pull tight.
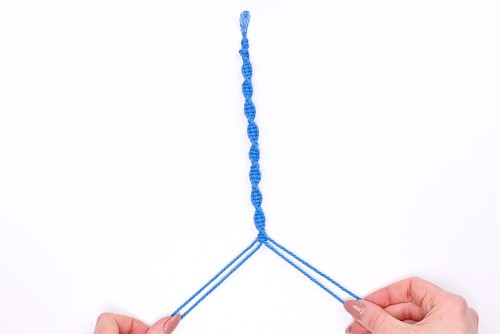
You will begin to see the bracelet flip on its own and start to create a spiral "helix" pattern. So let the bracelet flip naturally and continue to tie knots the same way.
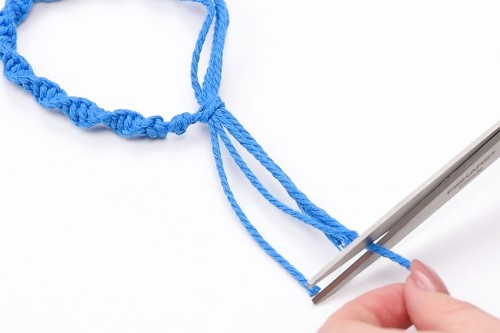
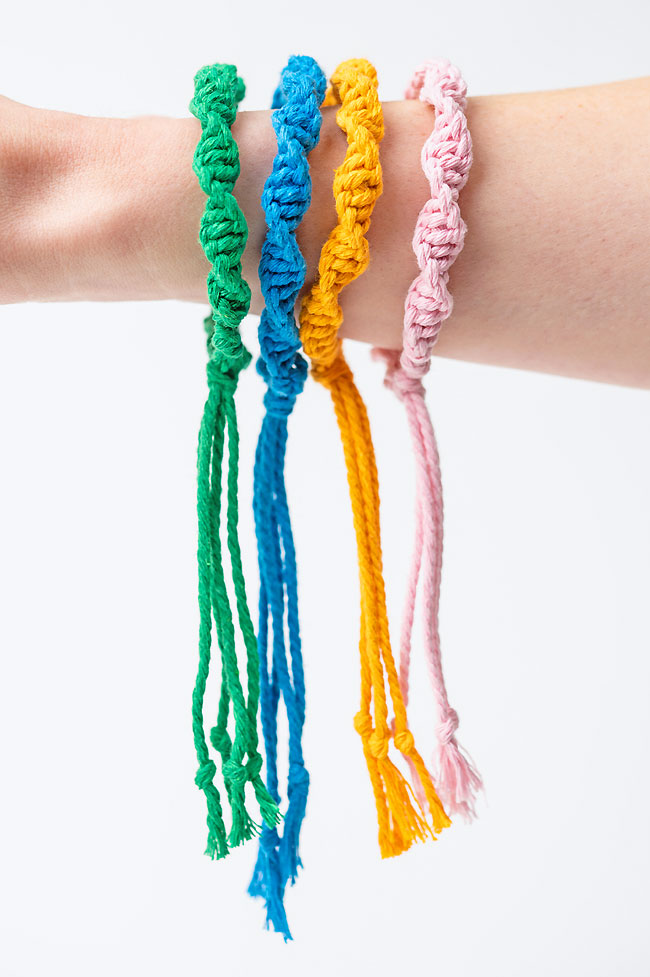
Once the bracelet is long enough, separate the four cords, with two on the left and two on the right.
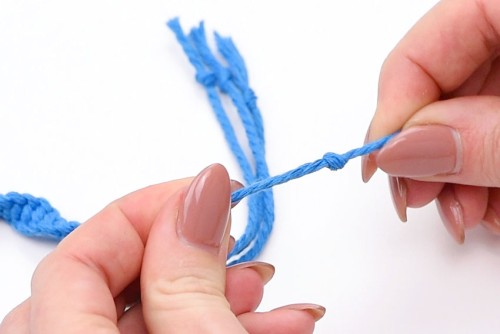
Tie the two cords on the right together in a single knot. To do this, bring the rightmost cord over the cord to the left of it. Then bring the right cord up through the loop and pull both cords tight.
Repeat with the left two cords.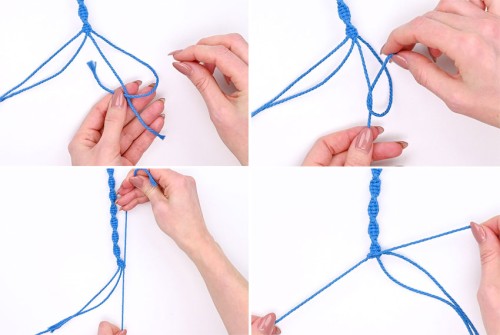
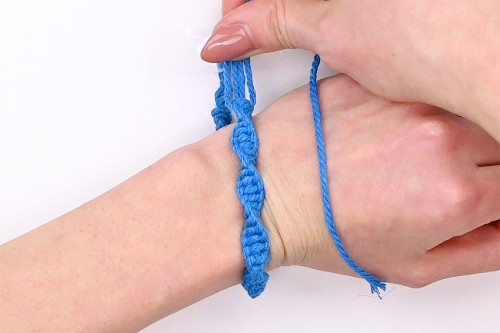
Pull about 2 inches of the bracelet through the loop, then feed the bottom loose strands of the bracelet through the opening created. Now pull the loop back off the bracelet.
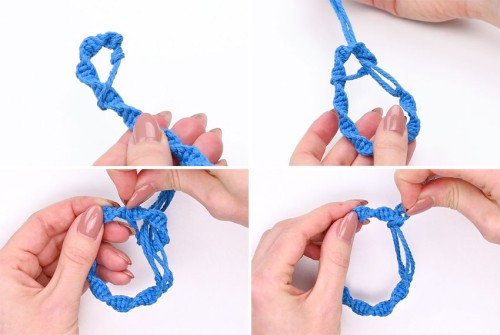
This has created a knot that can be slid up and down the loose strands to open and close the bracelet.
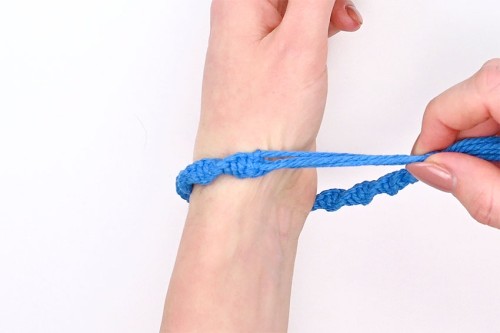
Put the bracelet on and open it enough that you can easily slide your wrist in and out. This shows you how long the loose strands can be. (If they are cut too short, you won't be able to take the bracelet off and pull it on.)
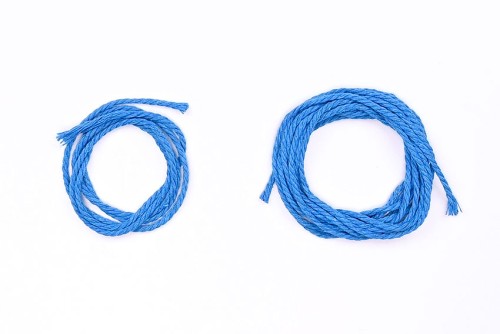
You’ll only need 2 cords for this macrame bracelet tutorial — one 32 inch cord and one 80 inch cord.
You only need a few supplies to make this bracelet! Gather some macrame cord, scissors, a tape measure, and Scotch tape.
This bracelet uses 2 mm cotton macrame “rope”, but you can easily use 1 mm cord for a more delicate bracelet or 3 mm for a chunkier looking one. You can also use crochet cotton or embroidery floss with this pattern!
You can spot wash your bracelet using mild soap and lukewarm water. Then air dry it away from direct sunlight, as heat can shrink the fibers.
So it’s okay if the bracelet becomes wet occasionally, but removing it while showering, swimming, etc will make it last longer.
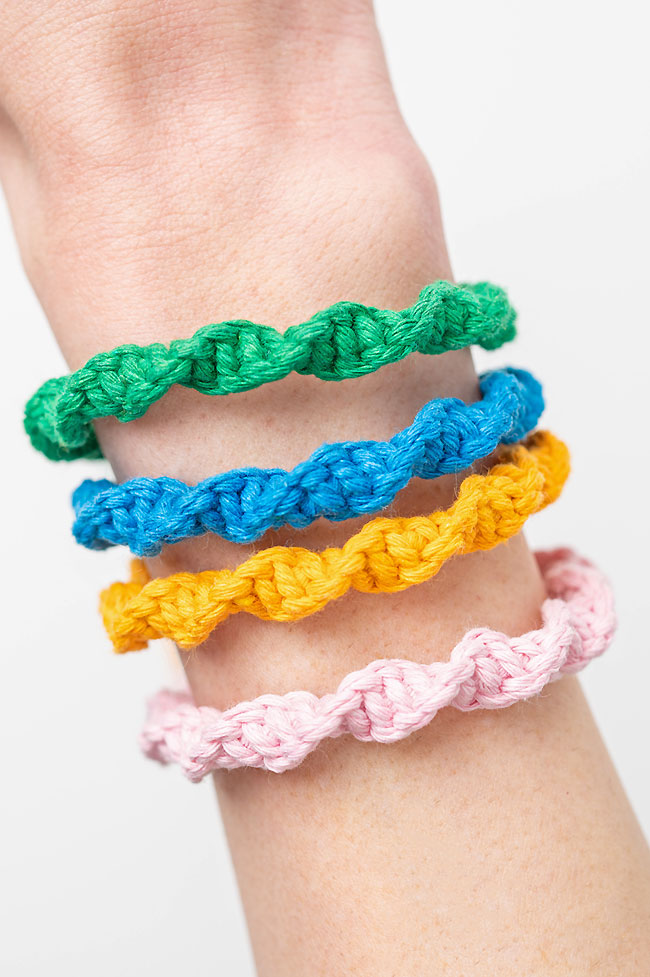
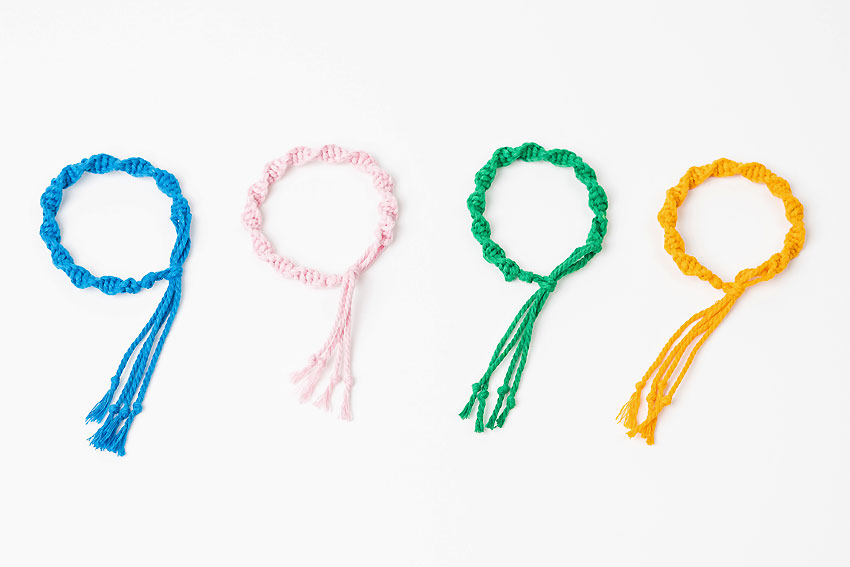
You can easily personalize your bracelet by choosing the colour and size of your macrame cord. Then you can follow our tutorial as is, or make it more unique by placing beads on the end of the loose cords, above the knots.
Or you can add a charm (or charms!) to the bracelet by placing it on the right tying cord as you knot the bracelet.
This DIY bracelet is a really fun project to make over the summer or winter holidays. And for an affordable and thoughtful homemade gift, be sure to make this macrame bracelet in your BFF’s favourite colour!

Our book Low-Mess Crafts for Kids is loaded with 72 fun and simple craft ideas for kids! The projects are fun, easy and most importantly low-mess, so the clean up is simple!
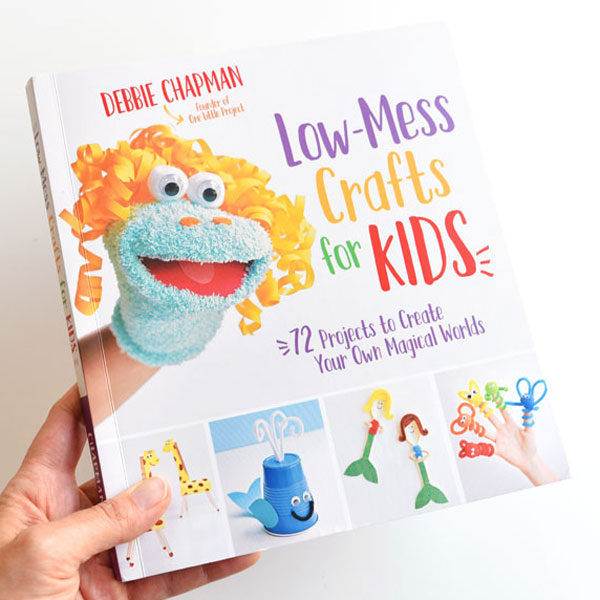
You can purchase Low-Mess Crafts for Kids from Amazon, or wherever books are sold: